Webinar Setup
Welcome! Want to follow along with me during my live streams? Great!
In just about all of my live events I perform hands-on demonstrations. To follow along with these, set up your systems according to the suggestions listed below.
Quick Summary: Use VirtualBox, Use Linux virtual machines (set up as NAT Network), and have SSH ready to go. Read on for details.
Use Virtual Machines
As a best practice, use locally installed virtual machines (VMs). I say "best practice" because it is preferable to test new software in a separate, safe environment and not on your main system. Good virtualization options include:
... and the list goes on. VirtualBox is a good choice for beginners because it's free, easy to use, and available on many platforms. However, as you progress, you might want to look into other virtualization tools.
I recommend installing Linux to your VM. Good options include Ubuntu, Linux Mint, Debian, and Fedora (though there are plenty more great Linux distros). For demos, I often work with Debian because it is lightweight but functional. In my humble opinion, it is the ultimate testing environment!
Configure NAT
I highly recommend using network address translation (NAT) mode for your virtual machines, and not bridged mode. This provides a layer of separation between your VMs and your LAN. In this type of setup, the VMs will be able to communicate with each other and the main host, but not with other systems on the LAN (by default). However, in VirtualBox, you will need to select "NAT Network", as opposed to the default "NAT". (This is also important if you are using Vagrant with VirtualBox.) Also, if you will be using VirtualBox, be sure to use the port forwarding technique for SSH.
You'll Want SSH!
You will want to have an SSH client in order to connect to your virtual machines from your main host. For most of you, SSH will be installed by default. If not, check the following:
- Windows: Go to Settings > Apps. Then click the Optional features link. From here you can add the feature: OpenSSH Client. In some cases you might have to enable the OpenSSH service. Go to Run > services.msc, and then locate, enable and start the service there. You can also install OpenSSH with Chocolatey. (Install Chocolatey from this link. Then, type
choco install openssh.) - Linux: You can install OpenSSH on any Linux client. For example, for Debian, type
apt install openssh-client. For Fedora, usednf. In some cases you might just need to enable and start the service as it may already be installed. To enable it typesystemctl enable sshd. To start it, typesystemctl start sshd. - macOS: Install OpenSSH by opening a terminal (Applications > Utilities > Terminal) and then typing
sudo port install openssh. You can also install OpenSSH with Homebrew. (Install Homebrew from this link. Then, typebrew install openssh.)
But again, most client operating systems today will have OpenSSH installed. If that is not the case, and the above options do not work, you can also consider other SSH client solutions: Putty (and derivatives), Kitty, MobaXterm, SecureCRT, and so on.
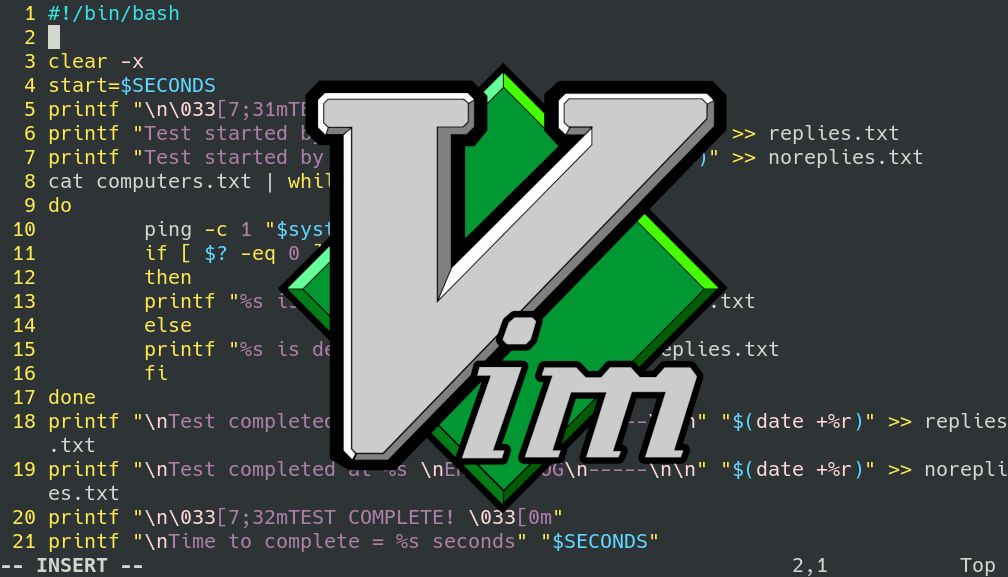
Use an Editor!
In my webinars I use Vim as my text editor and VS Code as my IDE. Check out the articles/videos below for more on those.